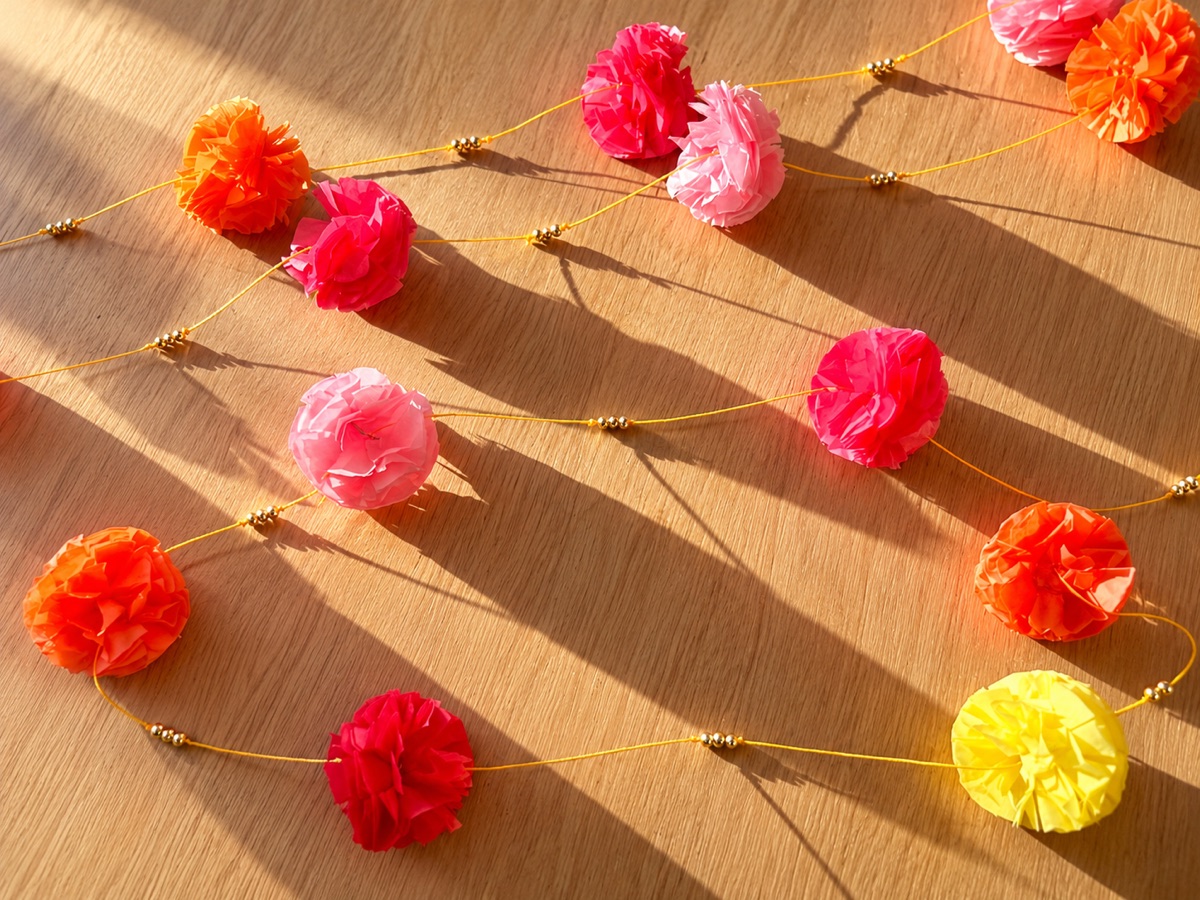
Tissue paper flowers, a few gold beads, and an afternoon with something good on in the background. One batch of paper makes two garlands.
This page contains affiliate links, which means we may earn a small commission if you shop through them, at no cost to you. Learn more.
These garlands were much easier to make than I expected. They do take a little time, so put on your favorite show, play some music in the background, and settle in with whatever you usually do to relax.
Makes
2 garlands
Flowers
21
Short garland
8 flowers, about 6 ft
Long garland
13 flowers, about 7½ ft
Tissue paper
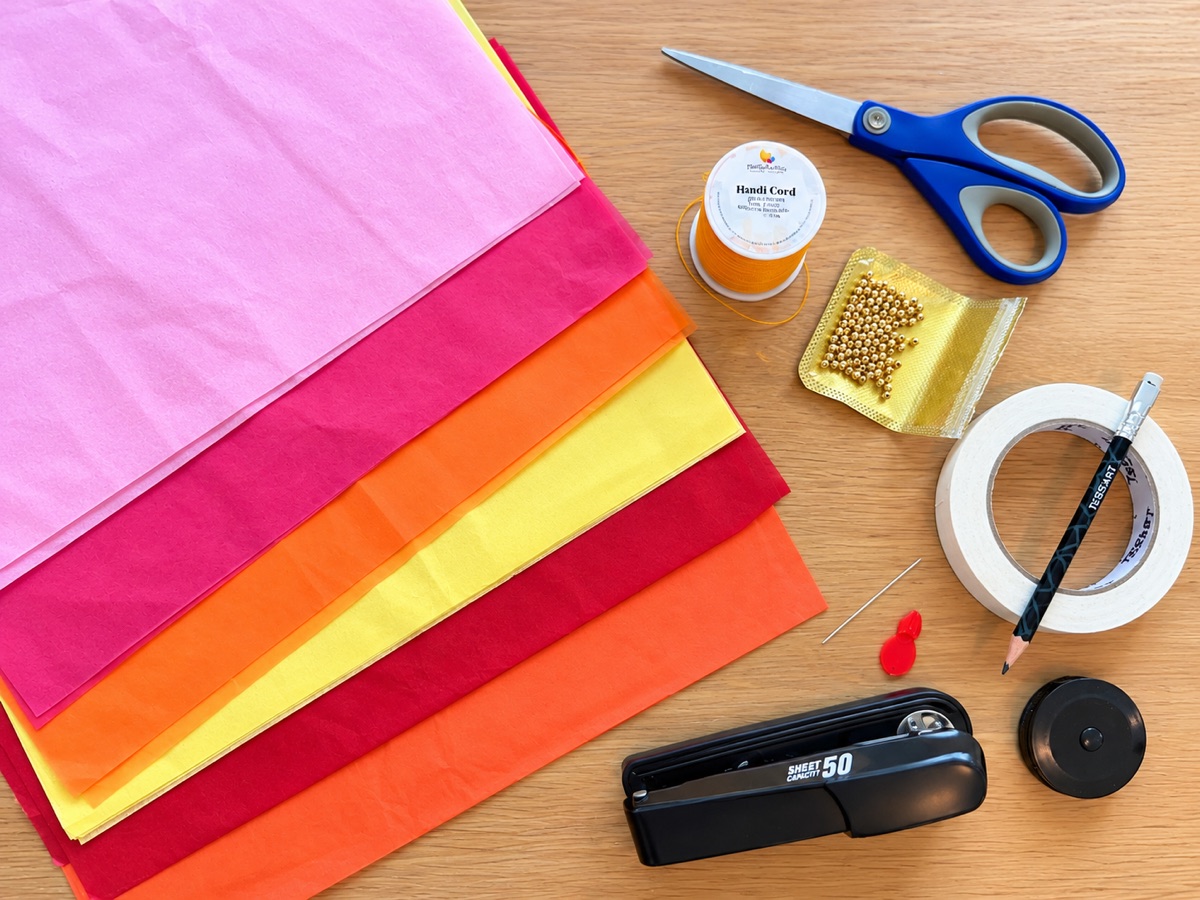
24 sheets, 14 × 10"
Cord
80" and 120"
As an Amazon Associate, Gathering Hour earns from qualifying purchases.
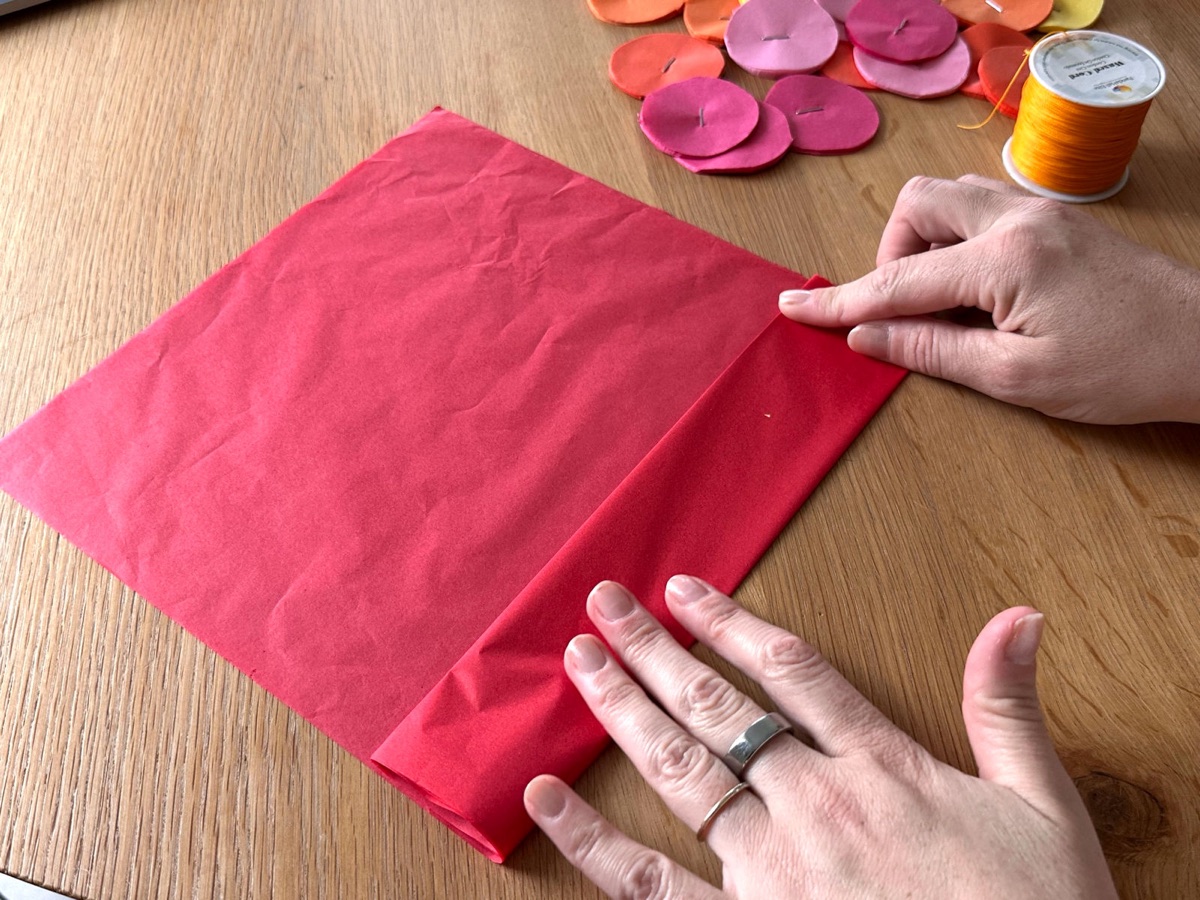
Take one color and stack four sheets. Fold the stack over on itself to make a strip that is just larger than your circle template (5 times in my case).
If you'd like bigger flowers, use a bigger circle and layer a few more sheets.
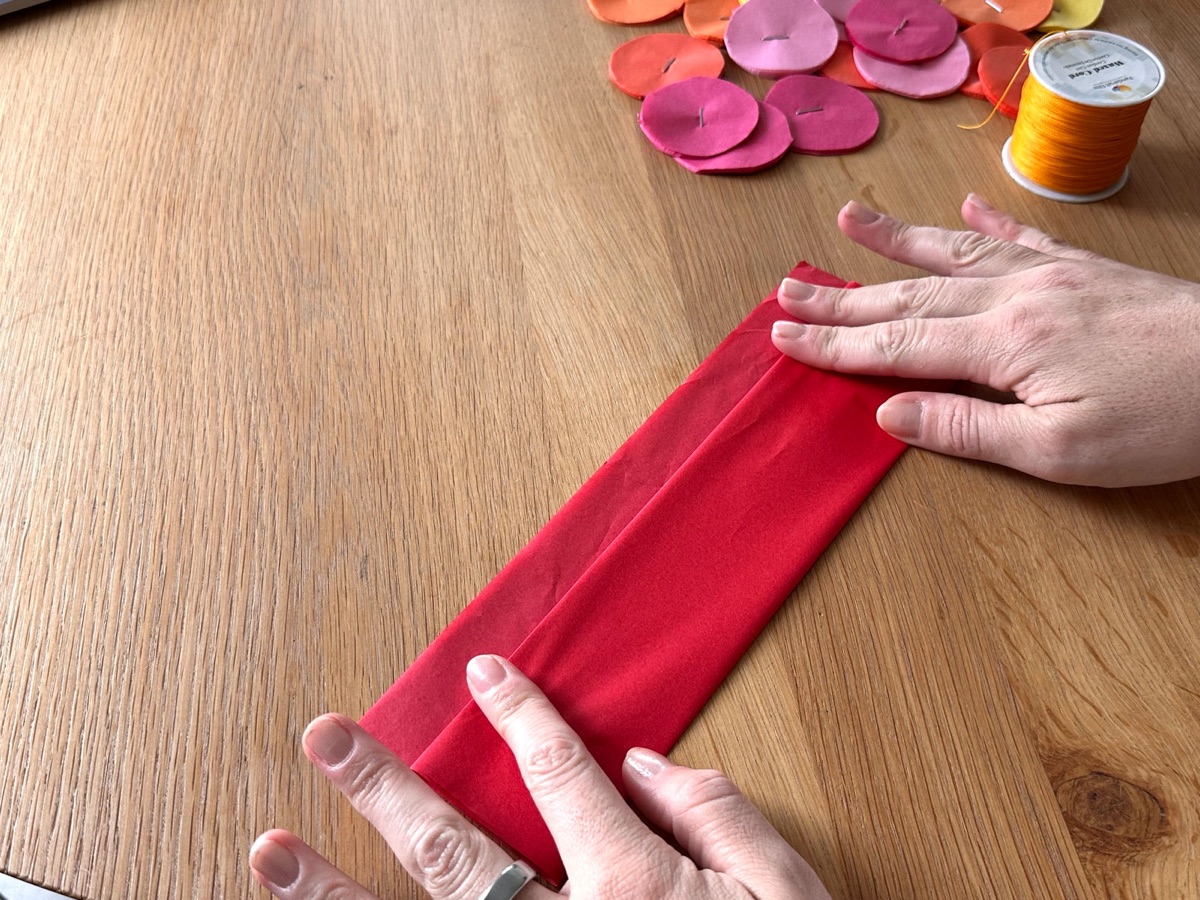
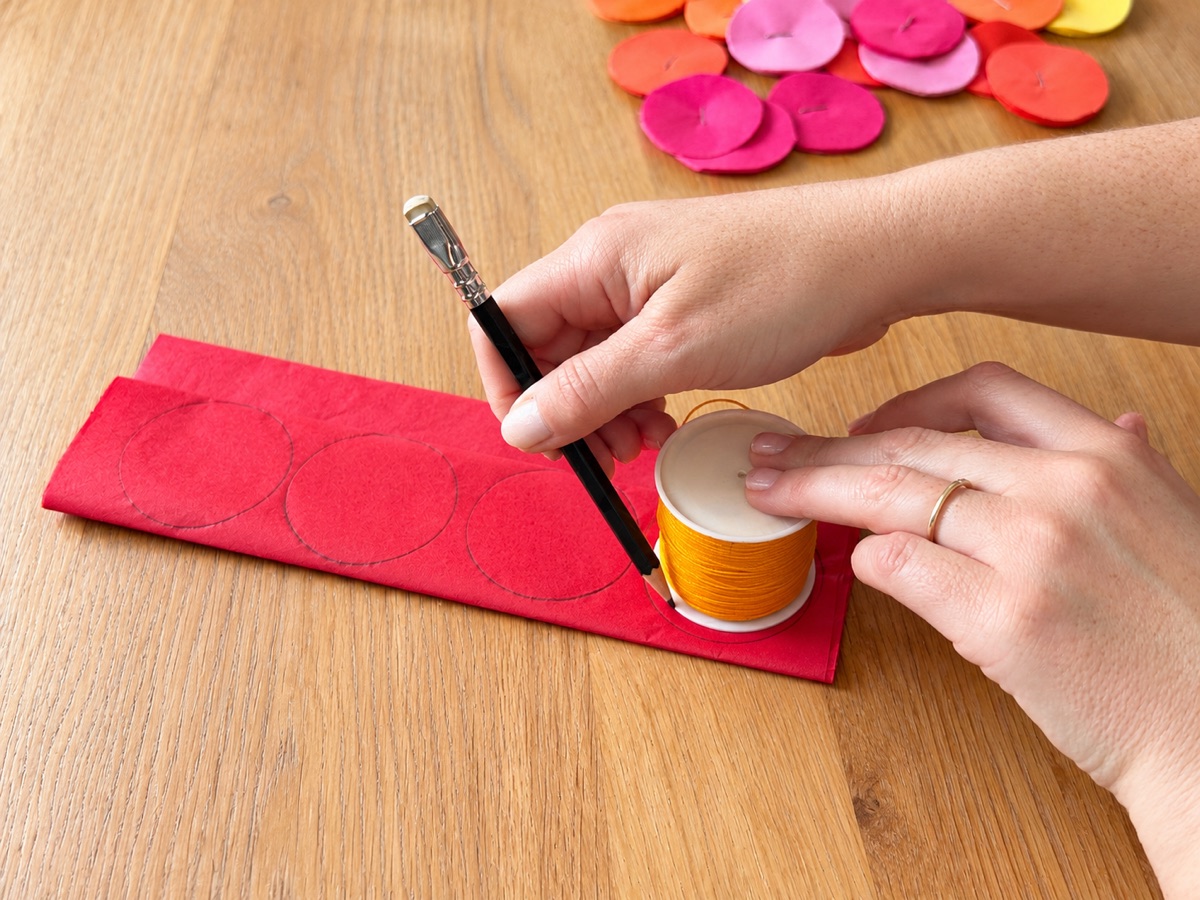
Use something round as your template. I used the spool the cord came on, which was about 2". Trace a few circles along the strip; I fit about four.
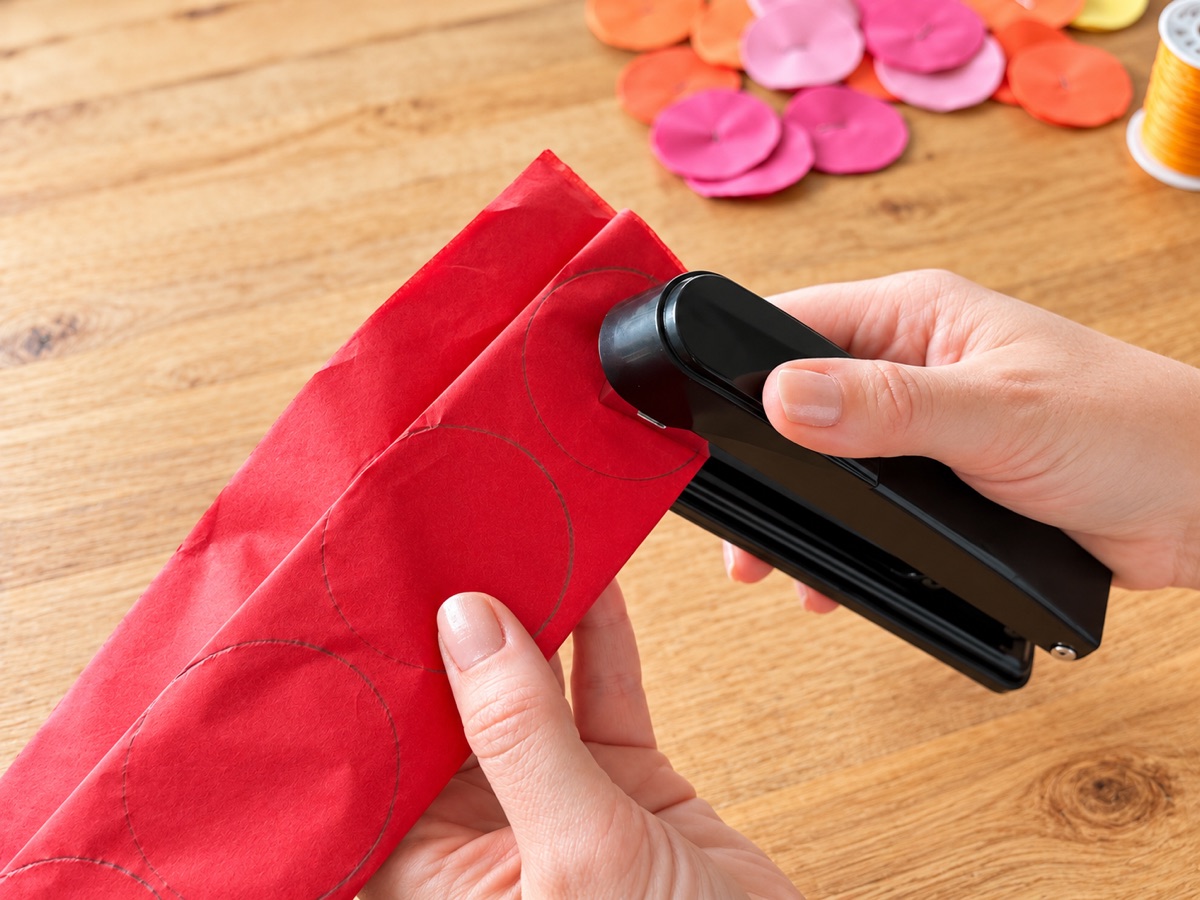
Plant one staple in the center of each circle.
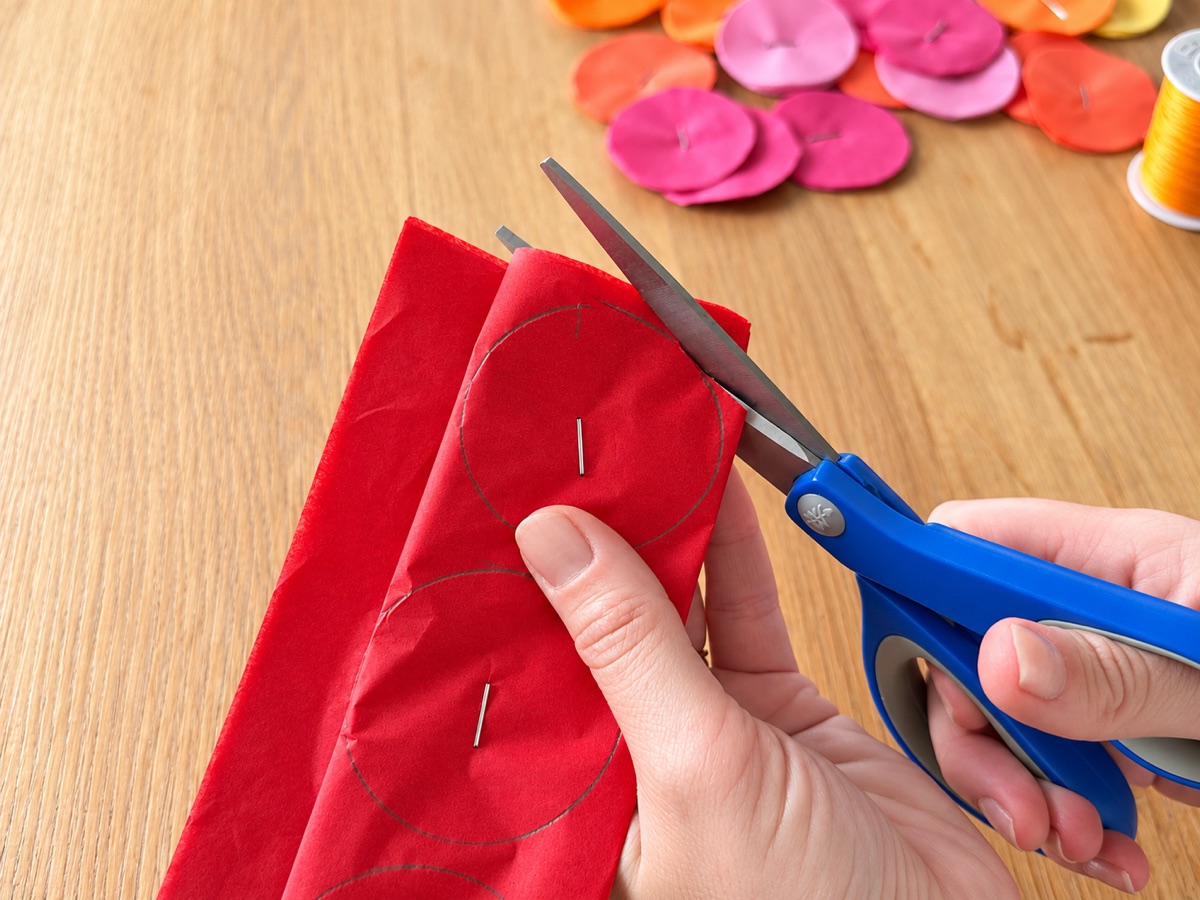
They don't have to be perfect, because the edges won't be very noticeable after you fluff them up.
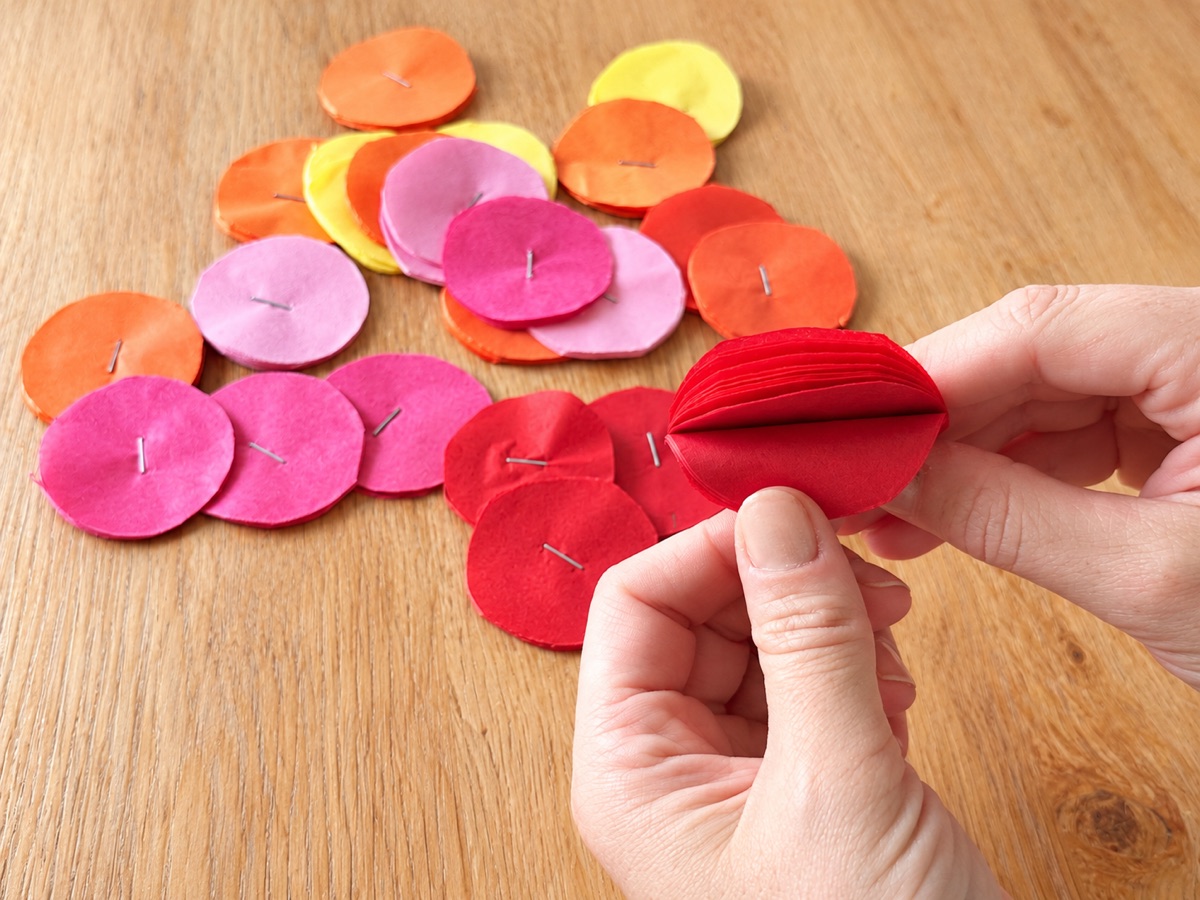
This takes a little patience, so make a cup of tea and put on your favorite show. Separate the layers one at a time and give them a little scrunch so the flower gets some volume. Do both sides. There's no need to be precious about it, or it'll take forever. This is also why four sheets is plenty: more layers just means more fluffing.
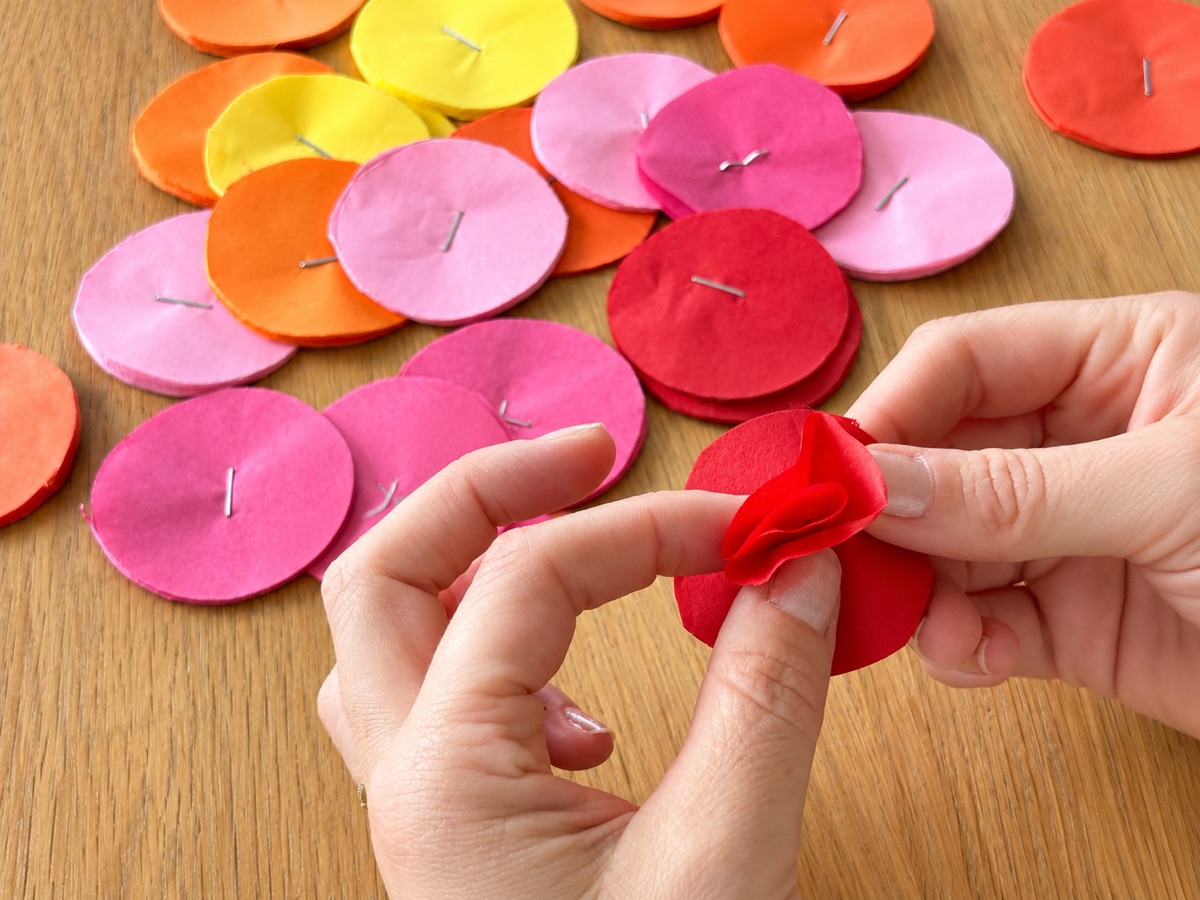
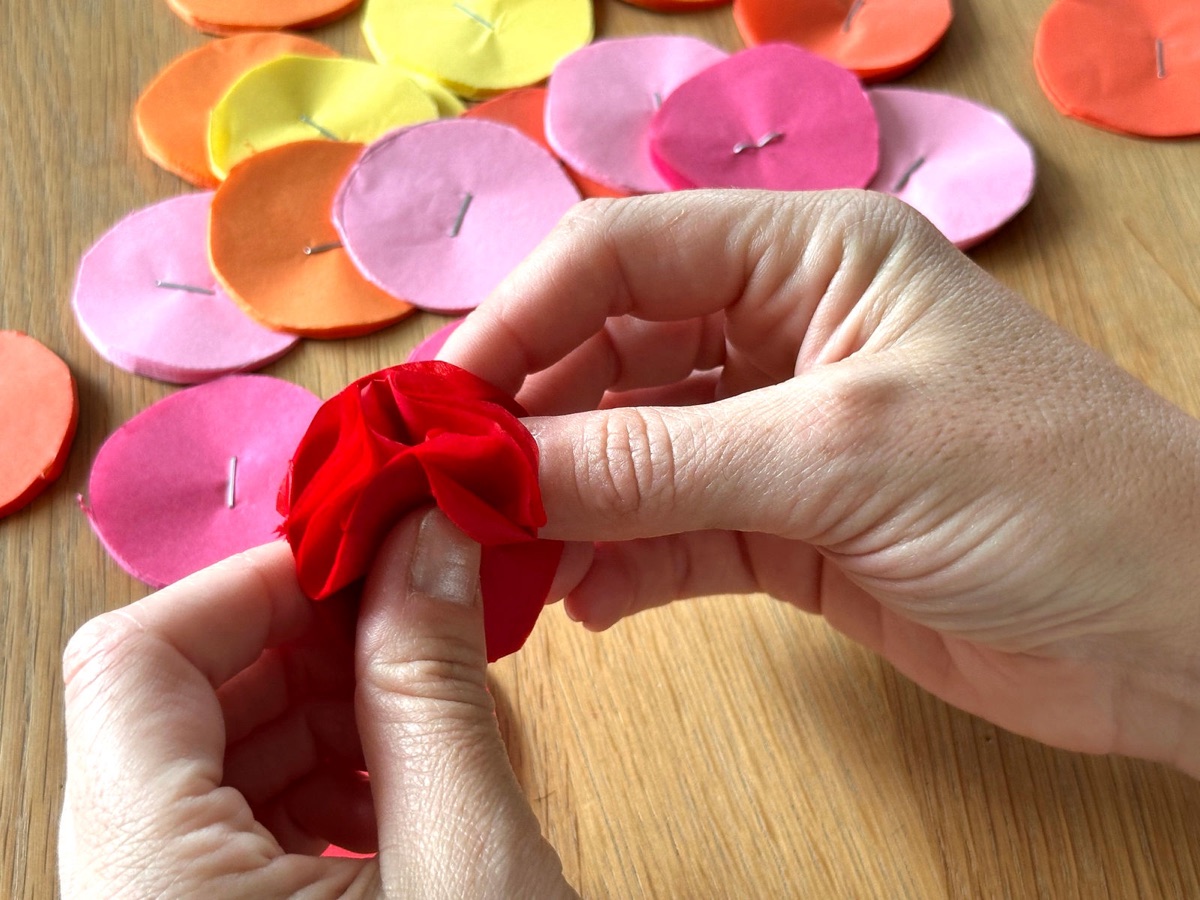
Flatten the flower a little and, keeping an eye on where the staple is, snip around the edge with scissors to make little marigold petals.
Short on time? You can skip the snipping. The flowers are still fun, just more pom-pom than marigold.
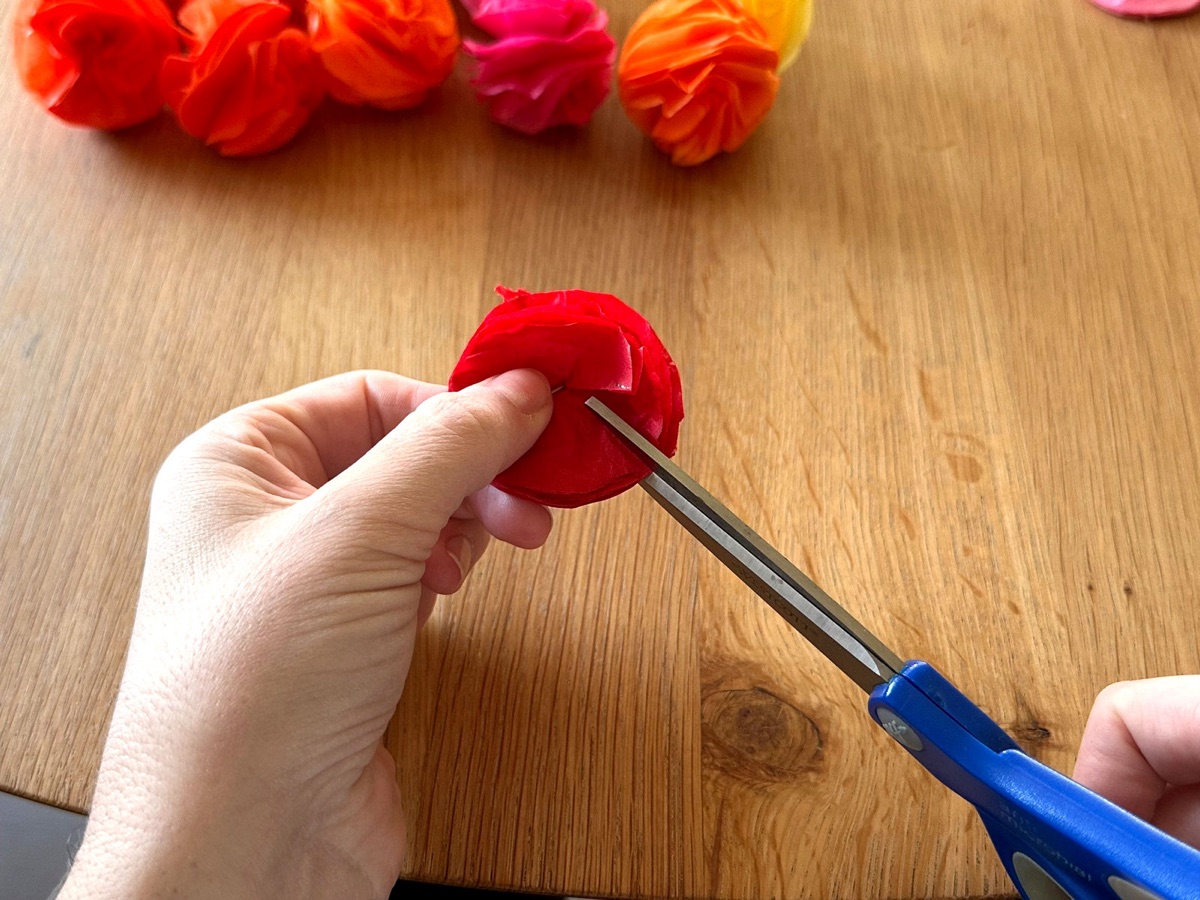
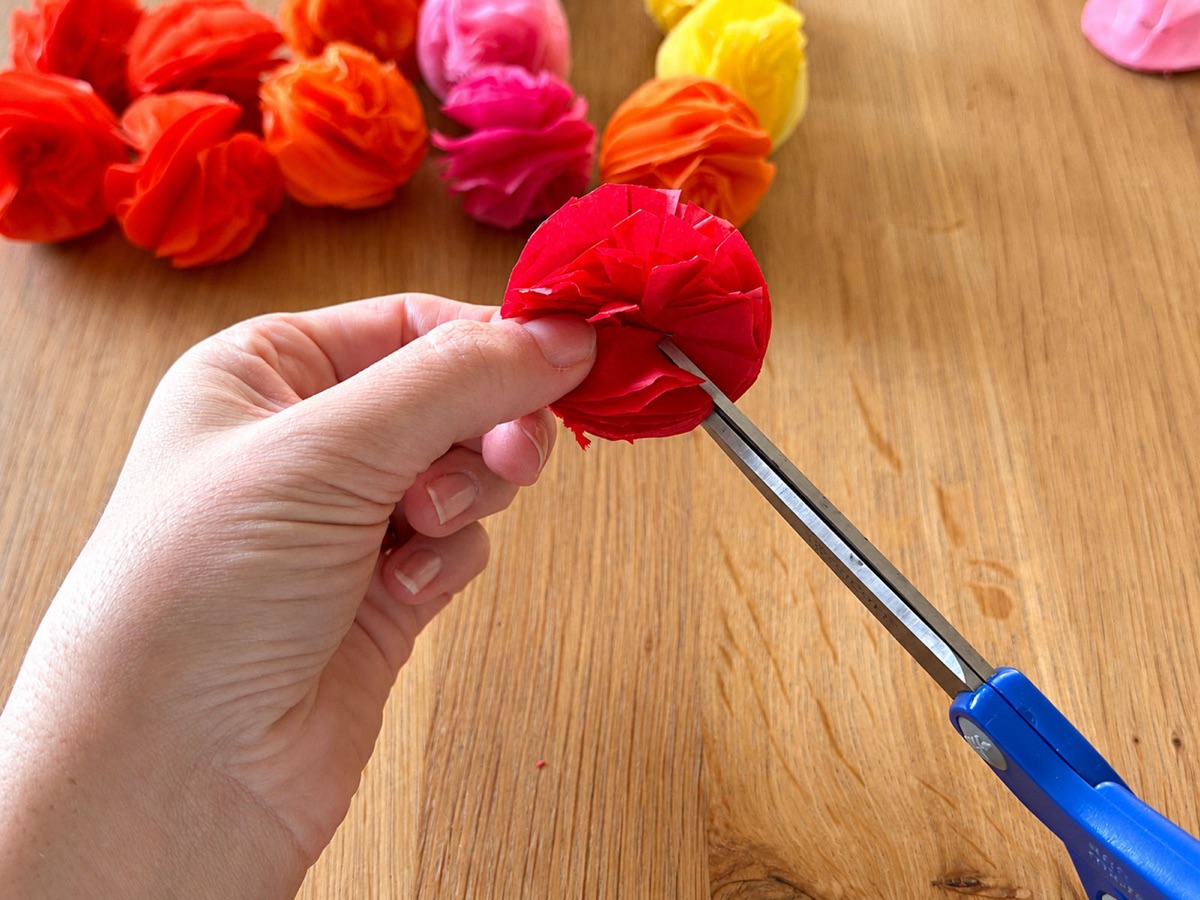
Fluff them back up again. Then do the same in every color.
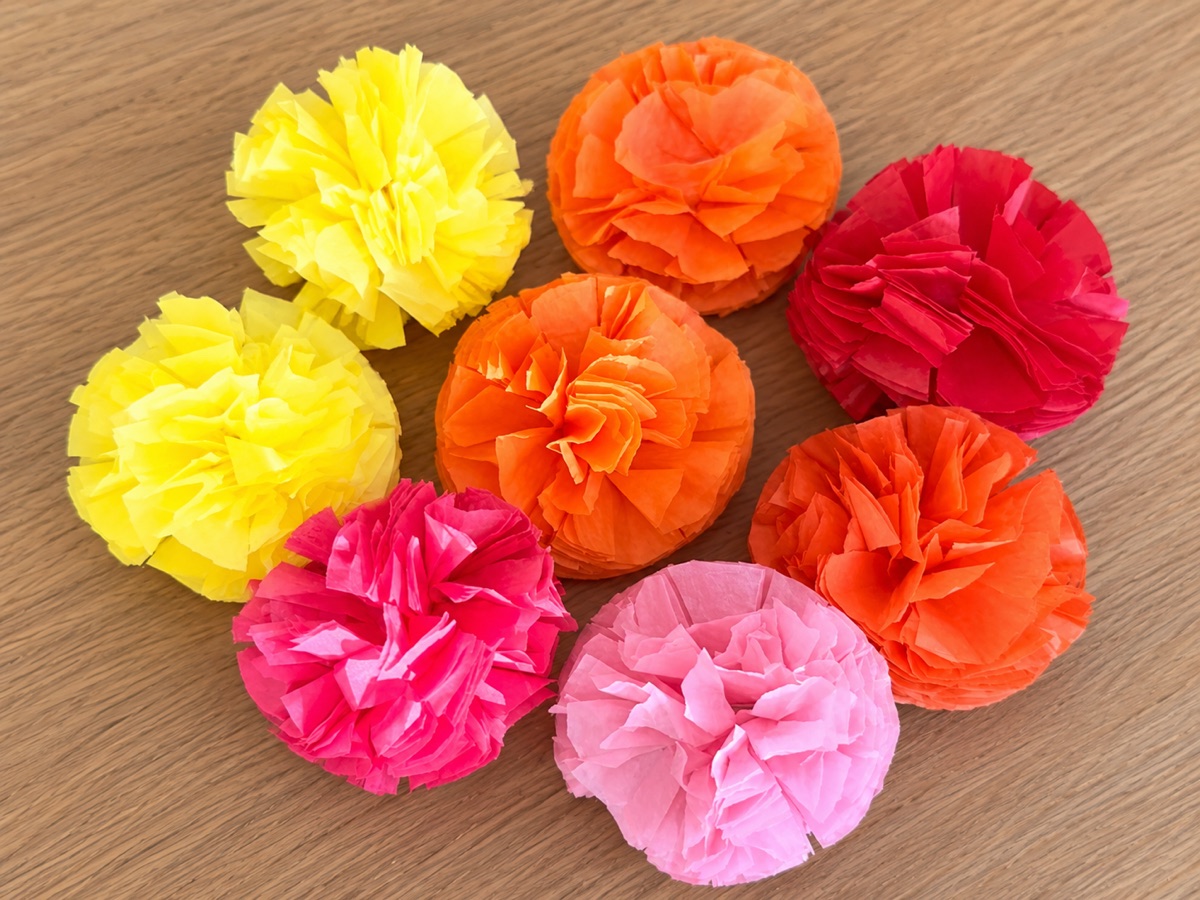
Lay your flowers out in the order you'd like before you start, so you can see how the colors sit together. For the shorter garland I went with light orange, yellow, red, dark orange, light pink, dark pink, light orange, and yellow.
One batch of paper makes two garlands, a shorter one and a longer one:
| Short | Long | |
|---|---|---|
| Cord | 80" | 120" |
| Flowers | 8 | 13 |
| Sets of gold beads | 8 | 13 |
| Finished length | about 6 ft | about 7½ ft |
Cut more cord than you think you need. Every flower and every set of beads gets a triple knot, and the knots use up a surprising amount.
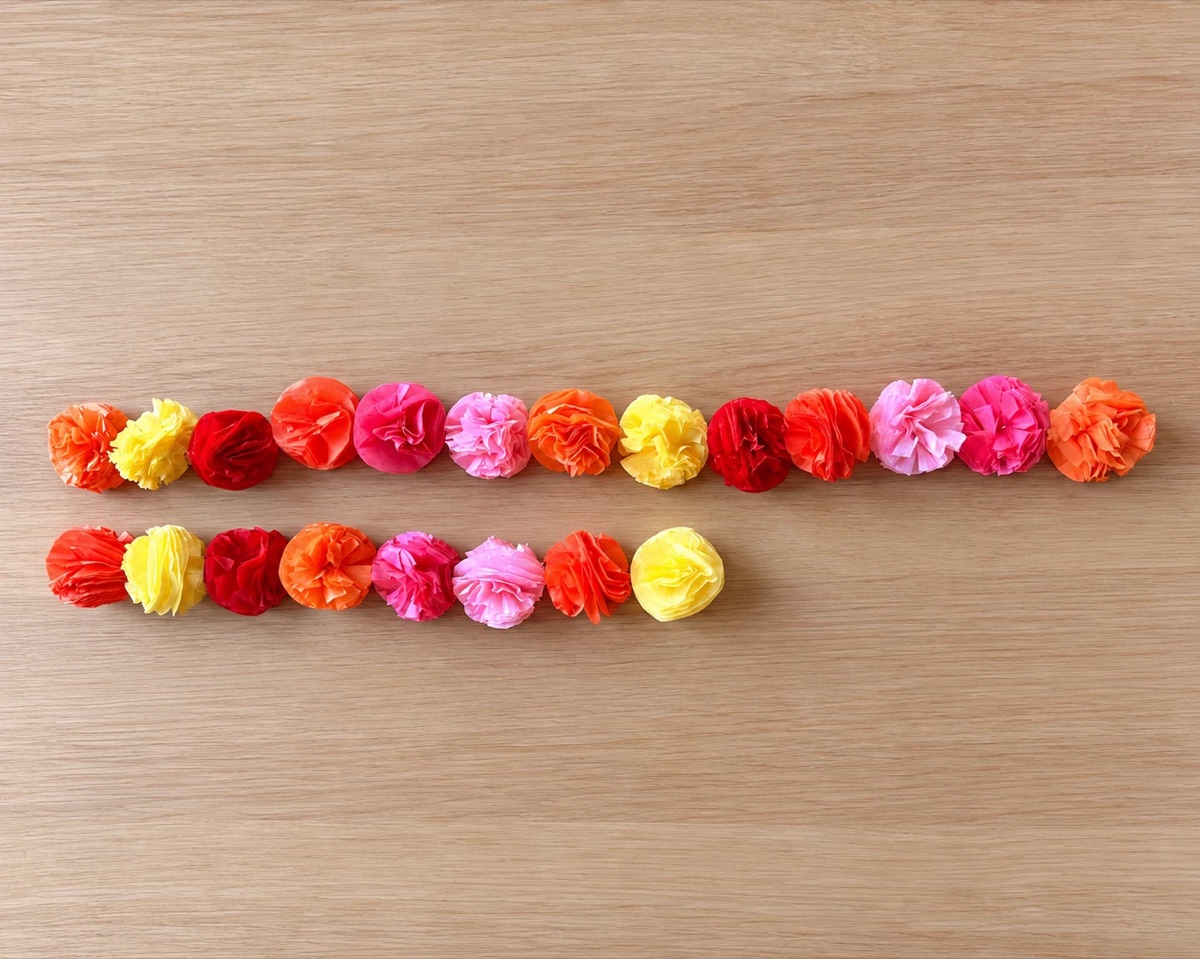
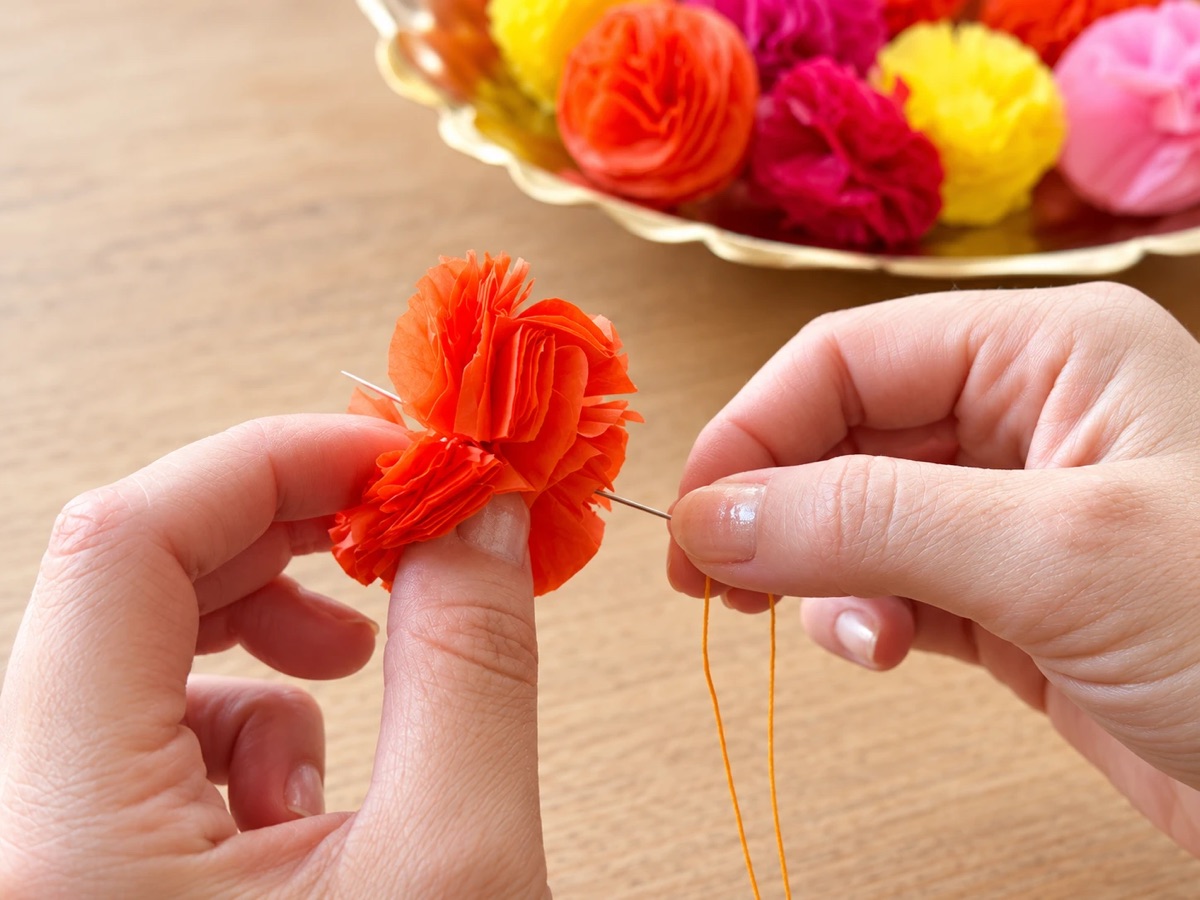
Thread the cord onto your needle. I started with an orange flower at the bottom. Push the needle through the center of the flower, slide it down the cord, and tie a few knots below it so it stays put.
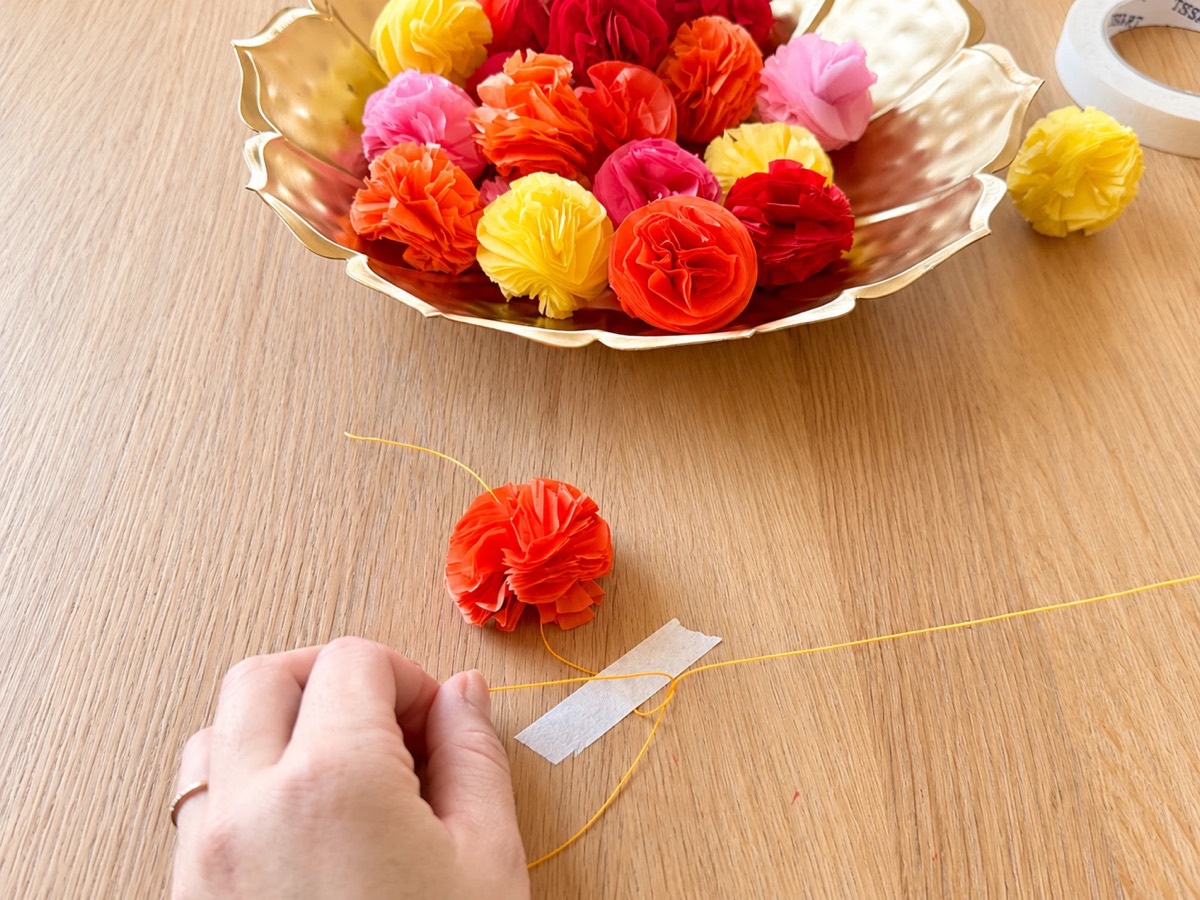
After each flower, use your tape measure to find 3 inches above the flower and tie a triple knot there. The triple knot is what keeps the beads from sliding and the flowers from pulling through.
Slide on 3 gold beads.
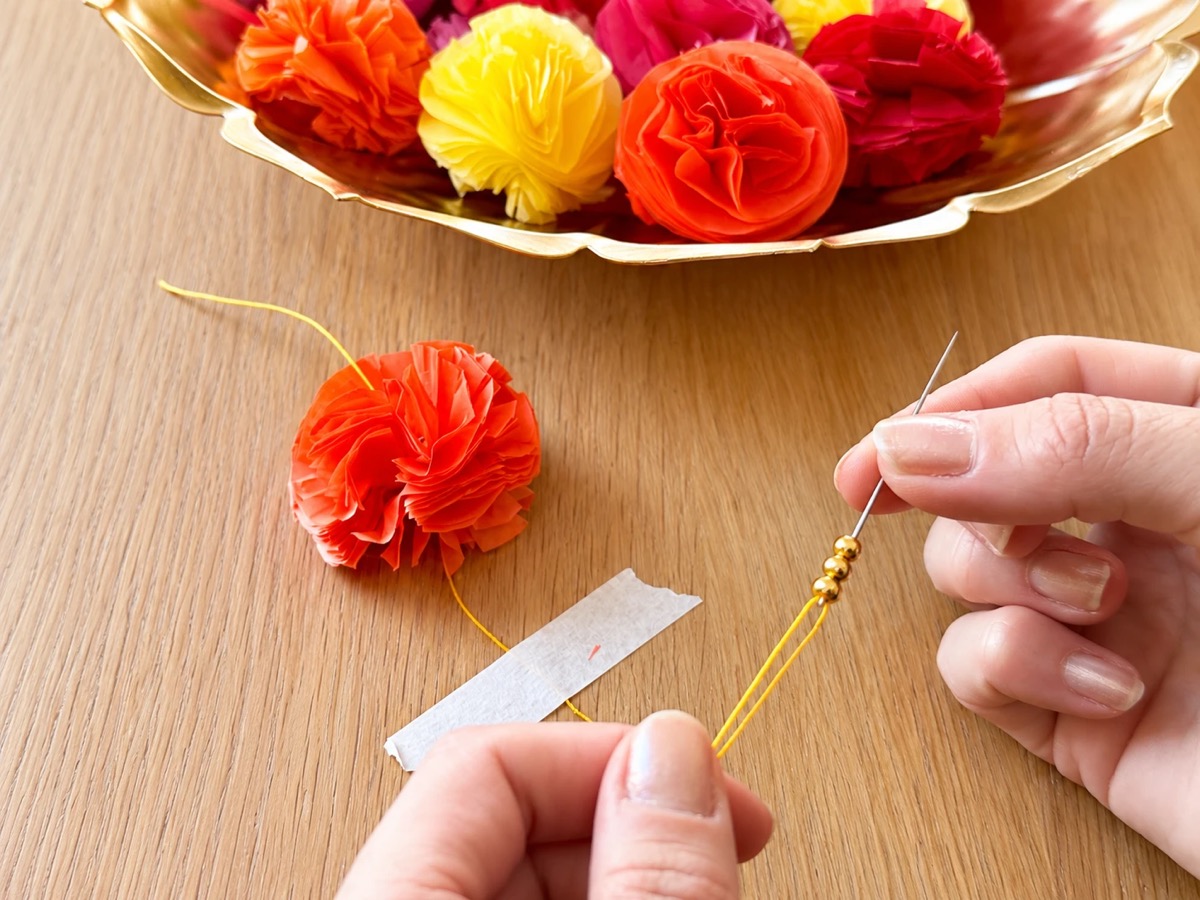
After adding your beads, tie another triple knot above the beads to keep them in place.
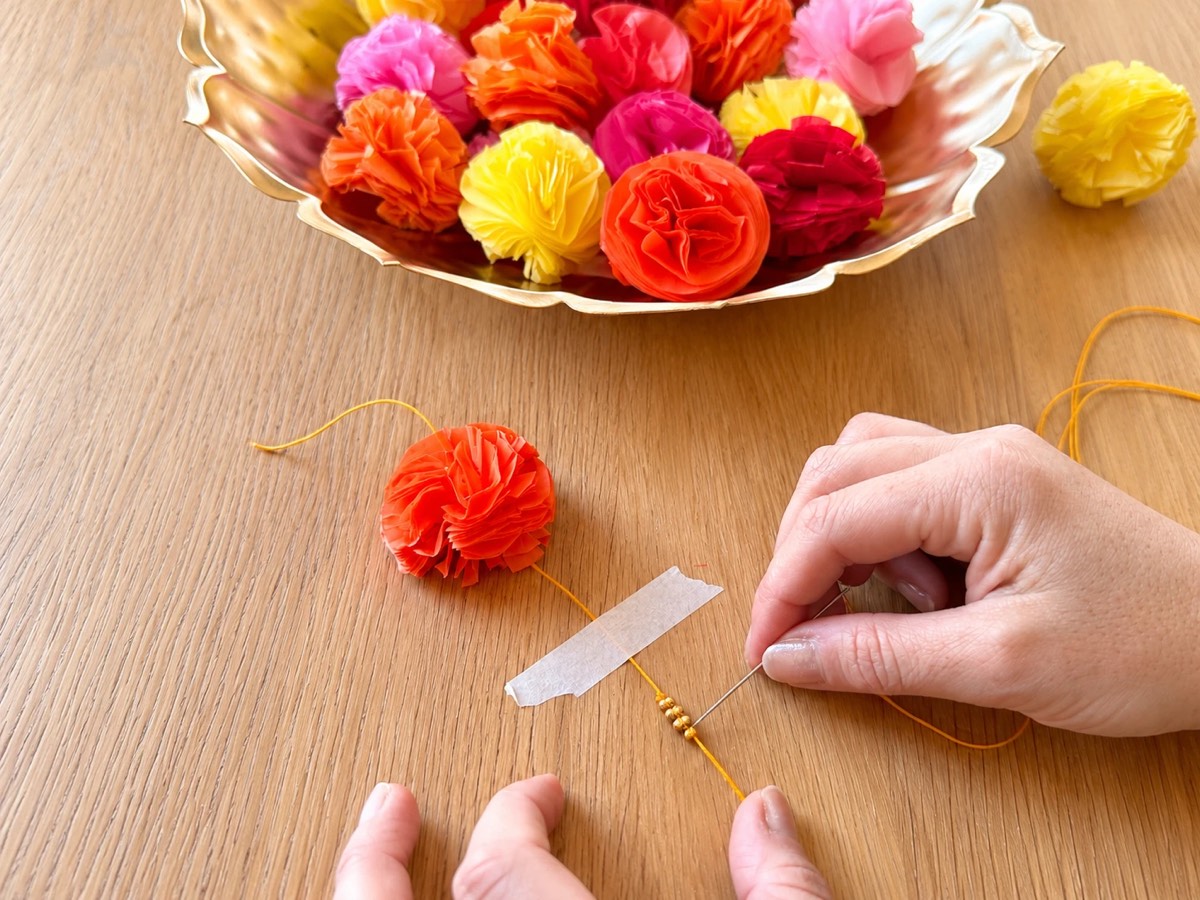
Measure 3 inches above the beads, tie a triple knot, and slide on the next flower. Keep going through your color order until all the flowers are strung.
Tip
Tape the cord down to your table with a piece of masking tape. It stops the cord from moving around while you tie, which makes the knots much less annoying, and you can pull the cord through the previous knot to tie each triple knot so it lands in the right spot.
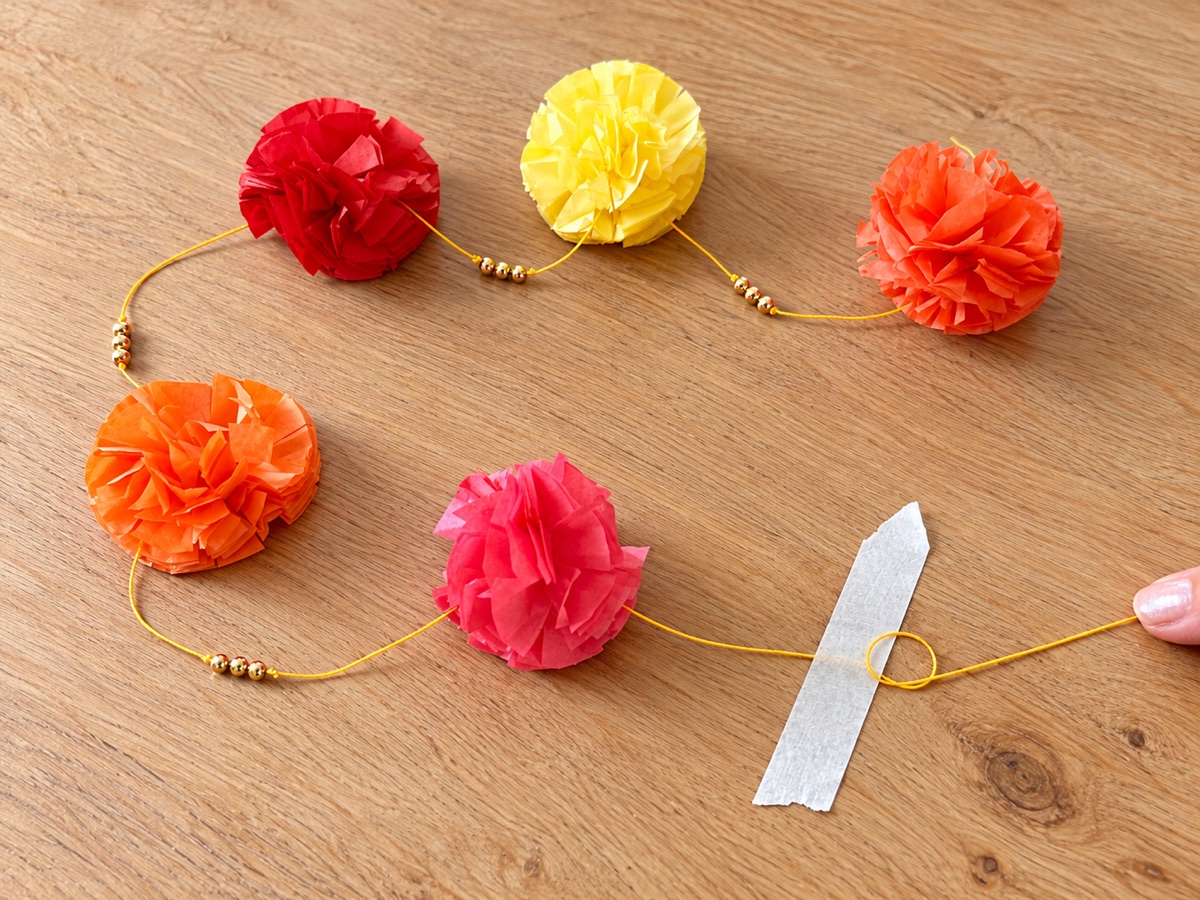
Leave a little extra cord at the end and tie it into a small loop with a knot. Slip the loop over a nail or a small hook, or tape it up with masking tape. The garlands are all tissue paper, so they're very light.
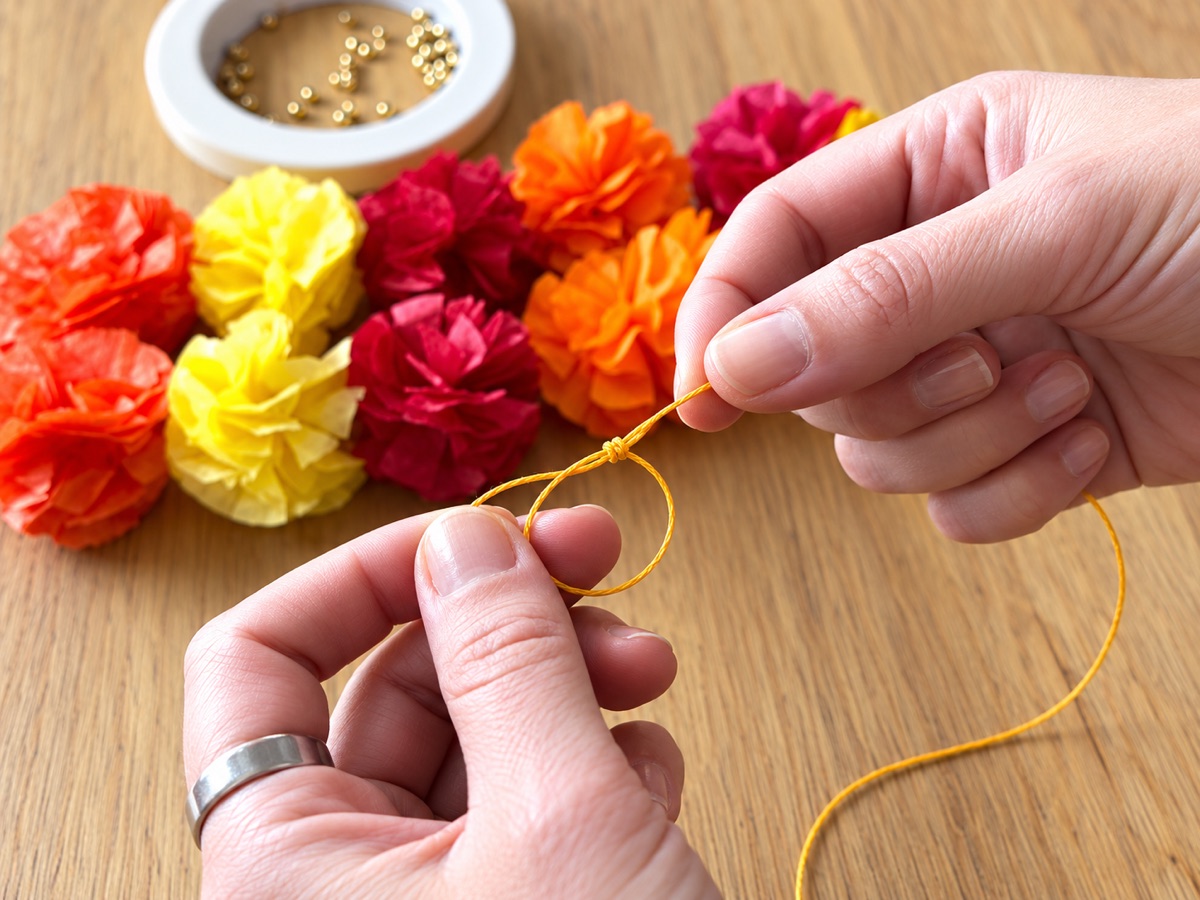
Ready when you are
From the Journal
More where that came from.
New recipes, crafts, hosting notes and gathering inspiration, straight to your inbox.